

 ______                __  ___                   _           _
|__  / |__   ___  _   _\ \/ (_) __ _ _ __   __ _| |__  _   _(_)
  / /| '_ \ / _ \| | | |\  /| |/ _` | '_ \ / _` | '_ \| | | | |
 / /_| | | | (_) | |_| |/  \| | (_| | | | | (_| | | | | |_| | |
/____|_| |_|\___/ \__,_/_/\_\_|\__,_|_| |_|\__, |_| |_|\__,_|_|
                                           |___/

 ____        _    __ _ _
|  _ \  ___ | |_ / _(_) | ___  ___
| | | |/ _ \| __| |_| | |/ _ \/ __|
| |_| | (_) | |_|  _| | |  __/\__ \
|____/ \___/ \__|_| |_|_|\___||___/
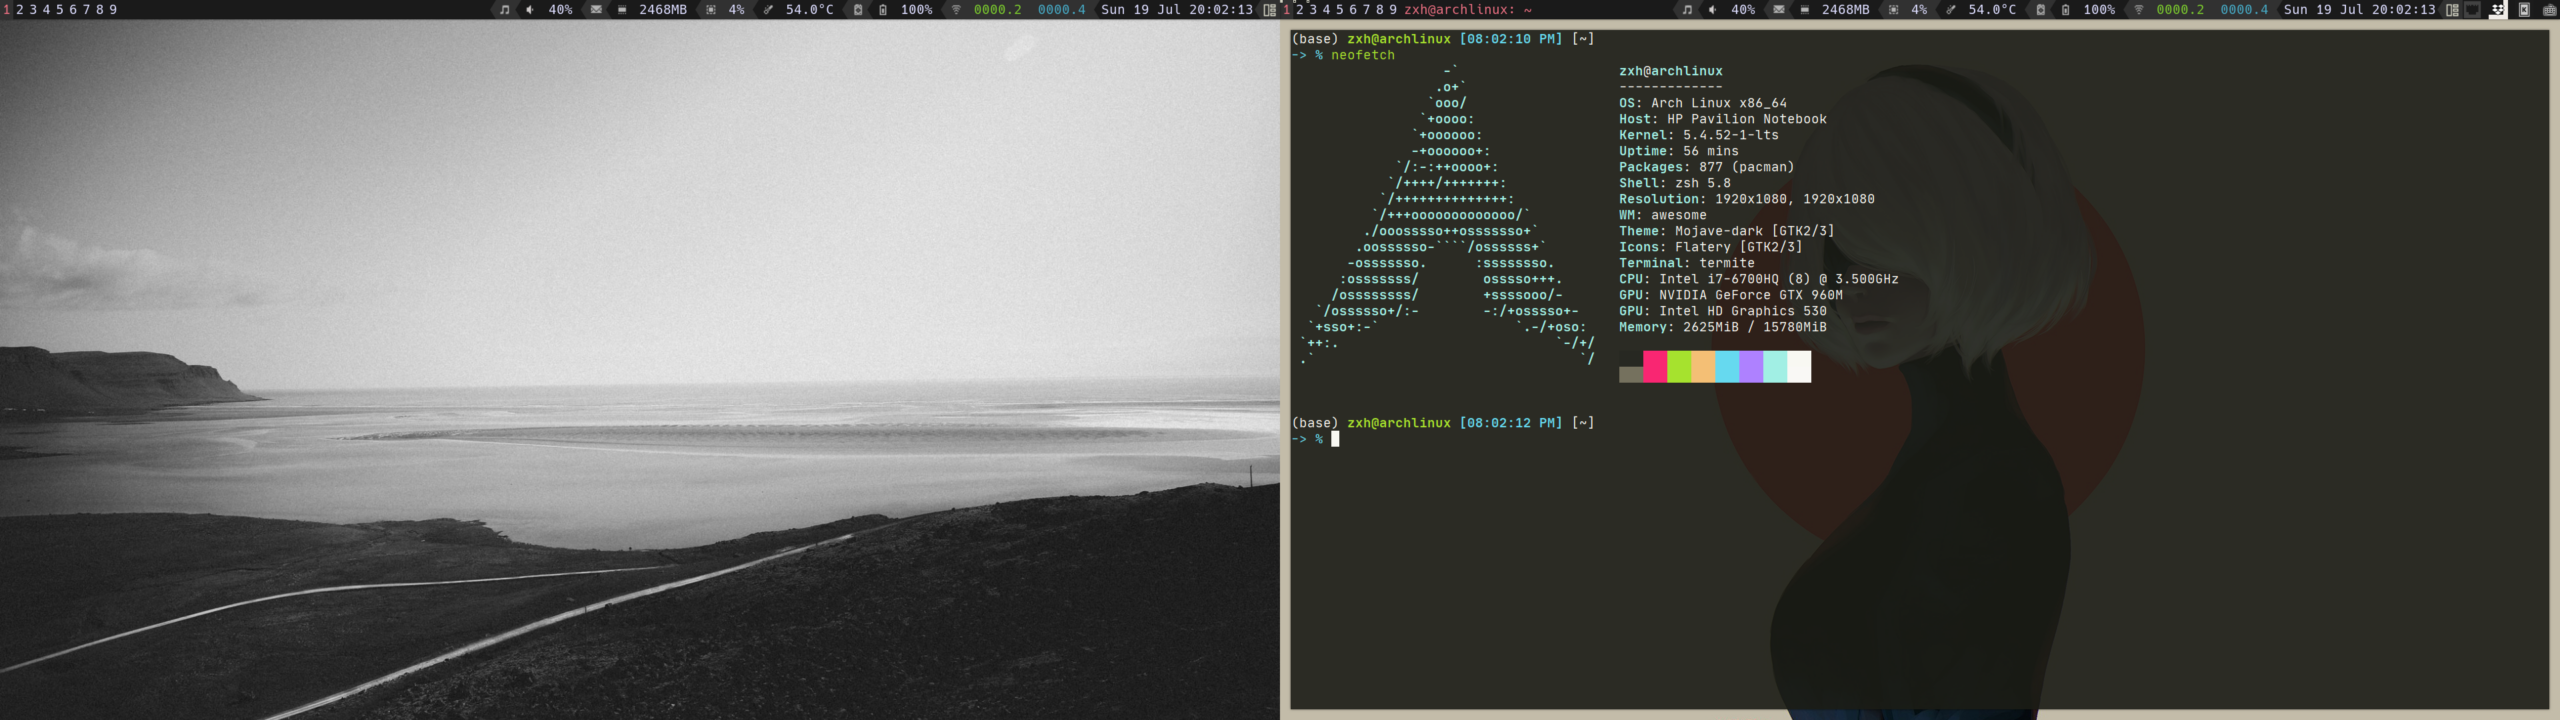
- archlinux Arch Linux is an independently developed, x86-64 general-purpose GNU/Linux distribution that strives to provide the latest stable versions of most software by following a rolling-release model. The default installation is a minimal base system, configured by the user to only add what is purposely required.
- GNU Stow The way you manage your dotfiles. A symlink farm manager which takes distinct packages of software and/or data located in separate directories on the filesystem, and makes them appear to be installed in the same place.
- awesomewm awesome is a highly configurable, next generation framework window manager for X. It is very fast, extensible and licensed under the GNU GPLv2 license. It is primarily targeted at power users, developers and any people dealing with every day computing tasks and who want to have fine-grained control on their graphical environment.
- Rofi A window switcher, application launcher and dmenu replacement.
- picom A lightweight compositor for X11 (previously a compton fork)
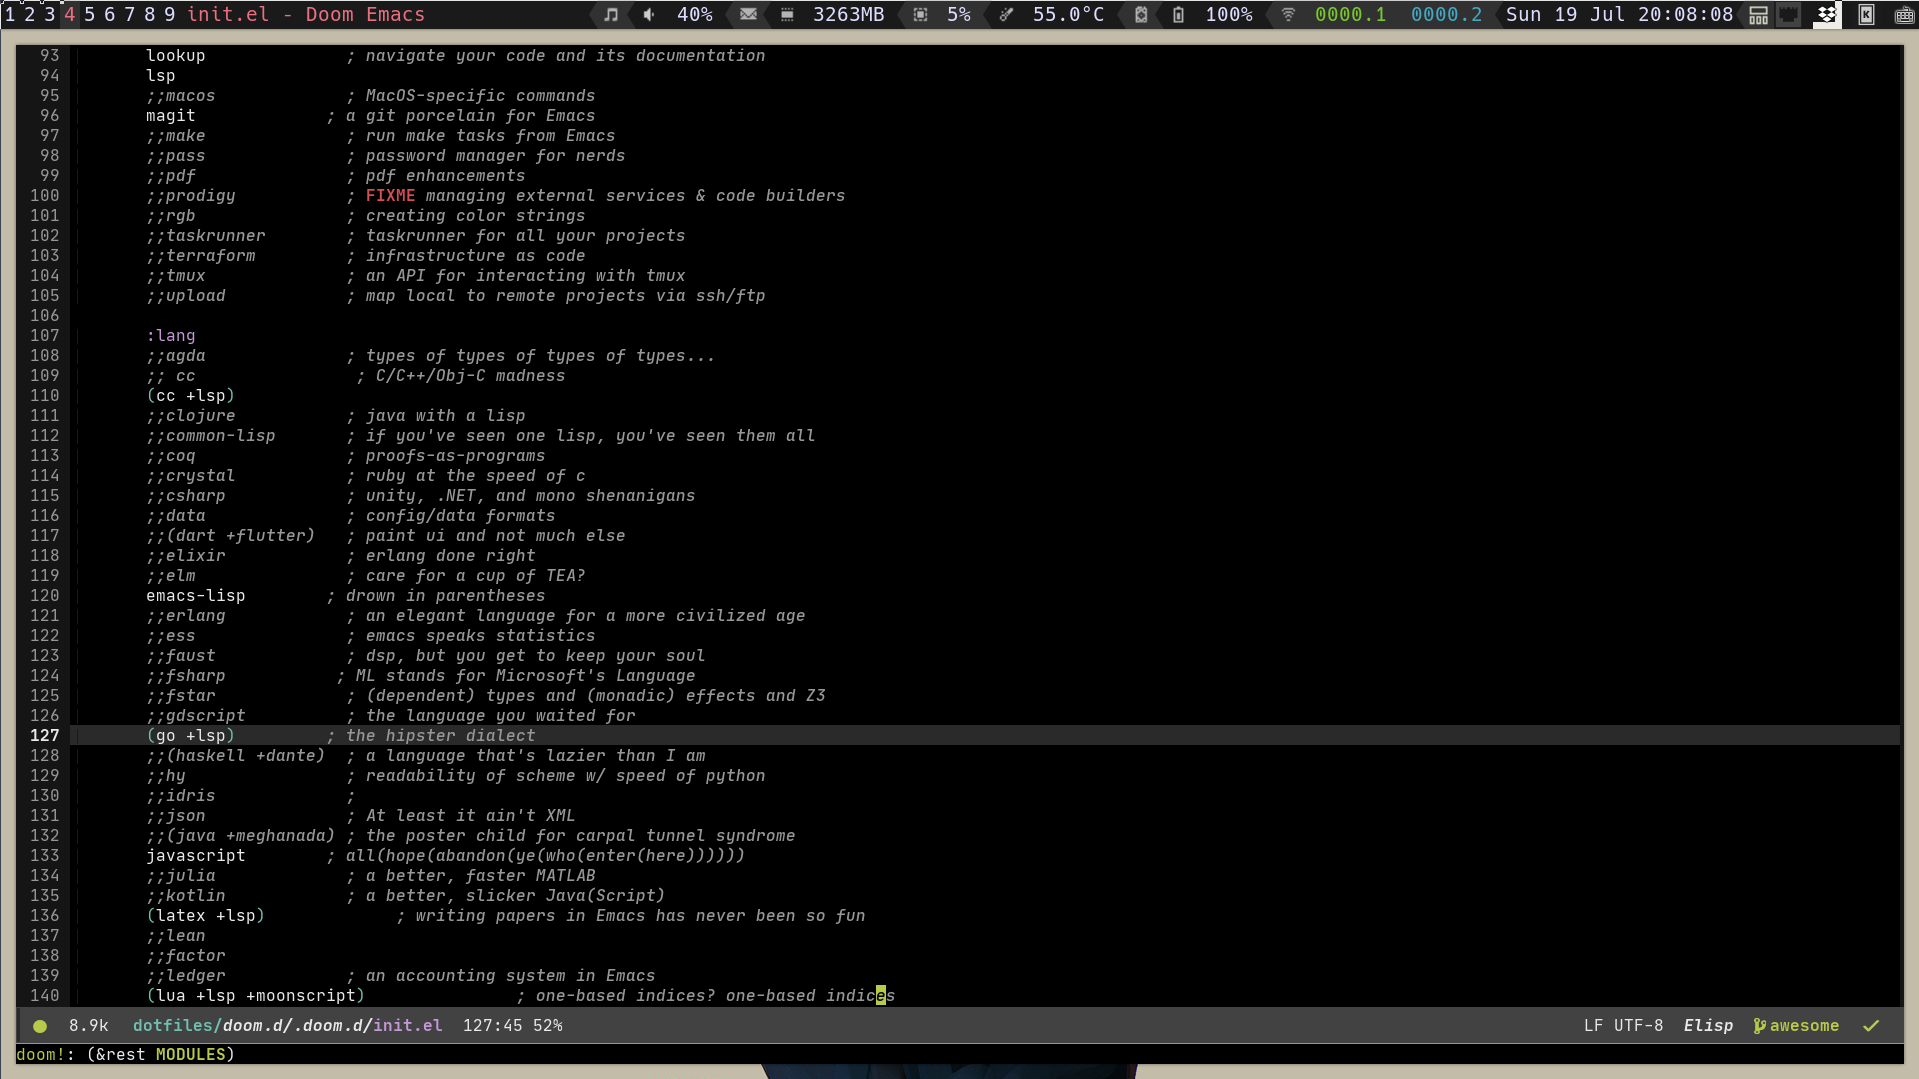
- doom-emacs Doom is a configuration framework for GNU Emacs tailored for Emacs bankruptcy veterans who want less framework in their frameworks, a modicum of stability (and reproducibility) from their package manager, and the performance of a hand rolled config (or better). It can be a foundation for your own config or a resource for Emacs enthusiasts to learn more about our favorite operating system.
- ranger A VIM-inspired filemanager for the console.
- zathura A highly customizable and functional document viewer. It provides a minimalistic and space saving interface as well as an easy usage that mainly focuses on keyboard interaction.
- mpv A free (as in freedom) media player for the command line. It supports a wide variety of media file formats, audio and video codecs, and subtitle types.
- termite A keyboard-centric VTE-based terminal, aimed at use within a window manager with tiling and/or tabbing support.
- ydcv YouDao Console Version – Simple wrapper for Youdao online translate (Chinese <-> English) service API, as an alternative to the StarDict Console Version(sdcv).
Make Sure You have Gnu Stow Installed
stow -R - Desktop

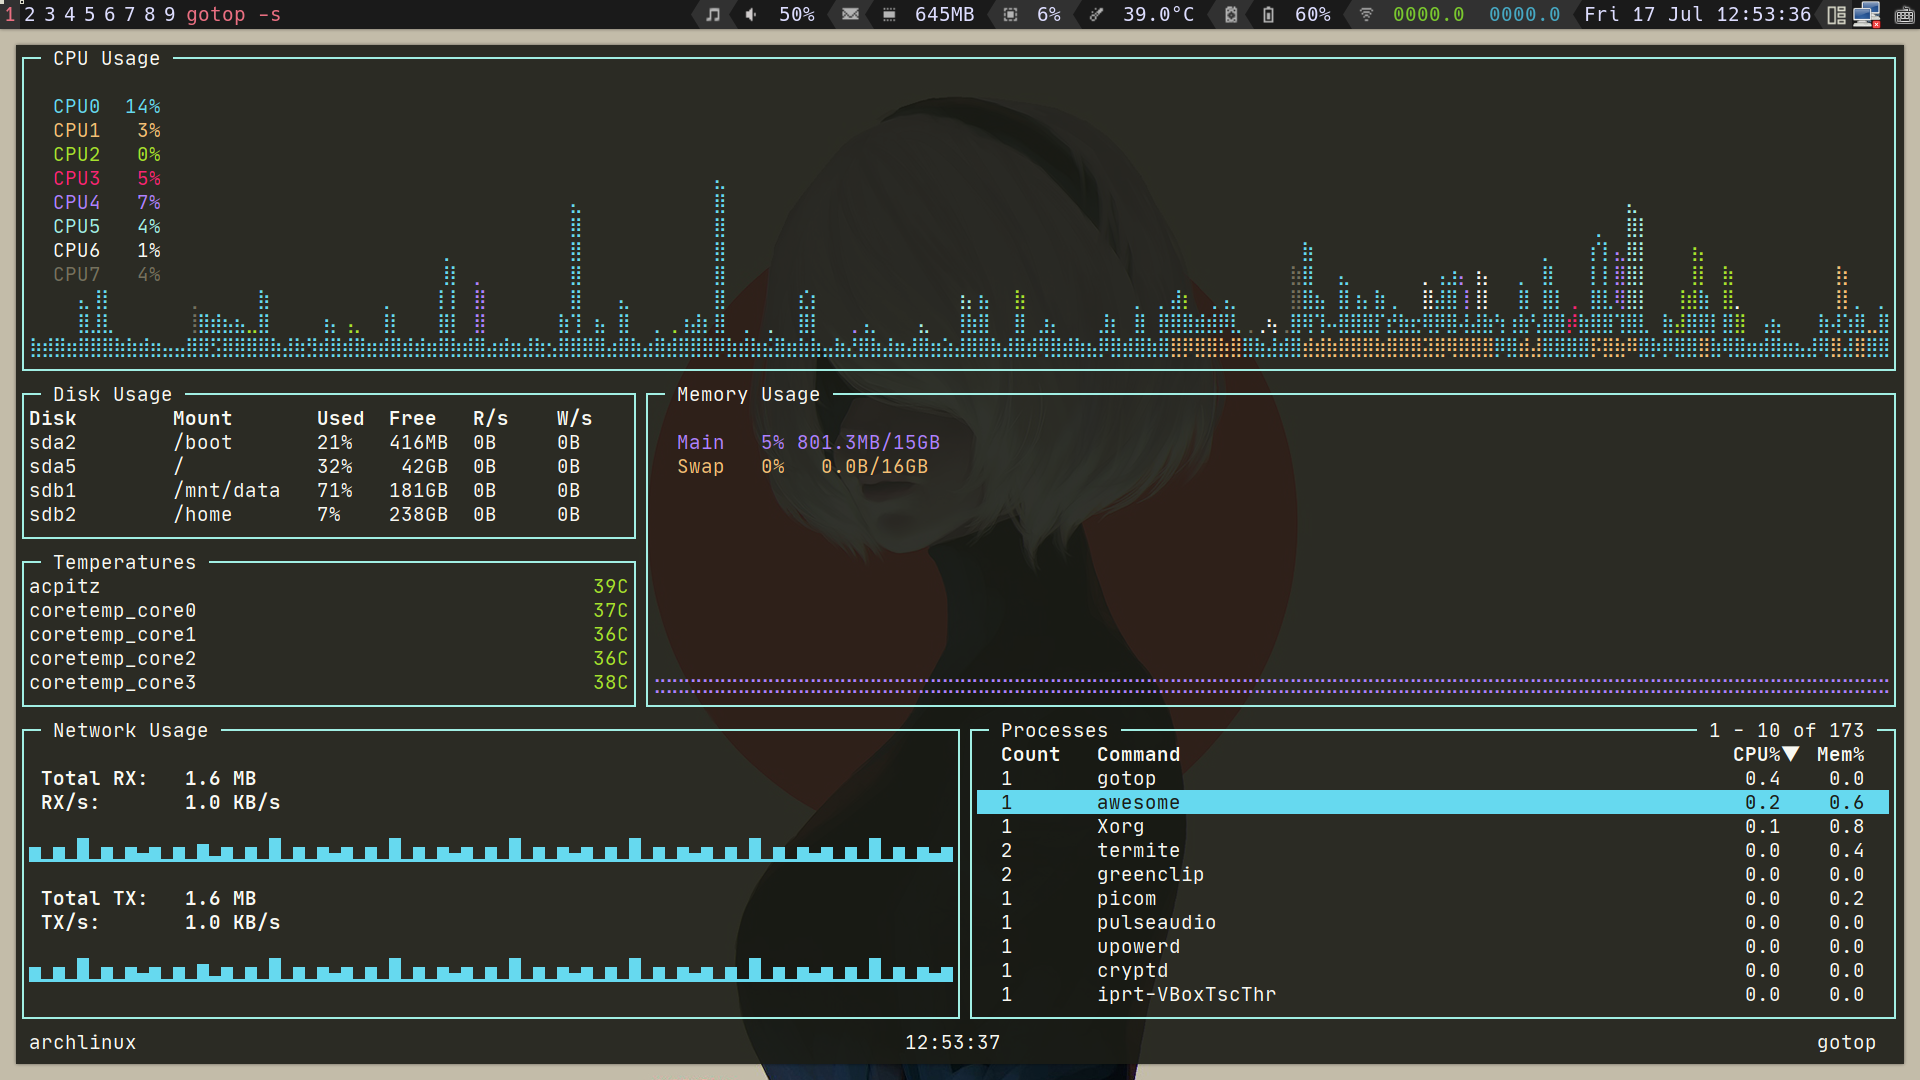
- Gotop

- Mpv && Pulsemixer

- Doom Emacs

- Ranger

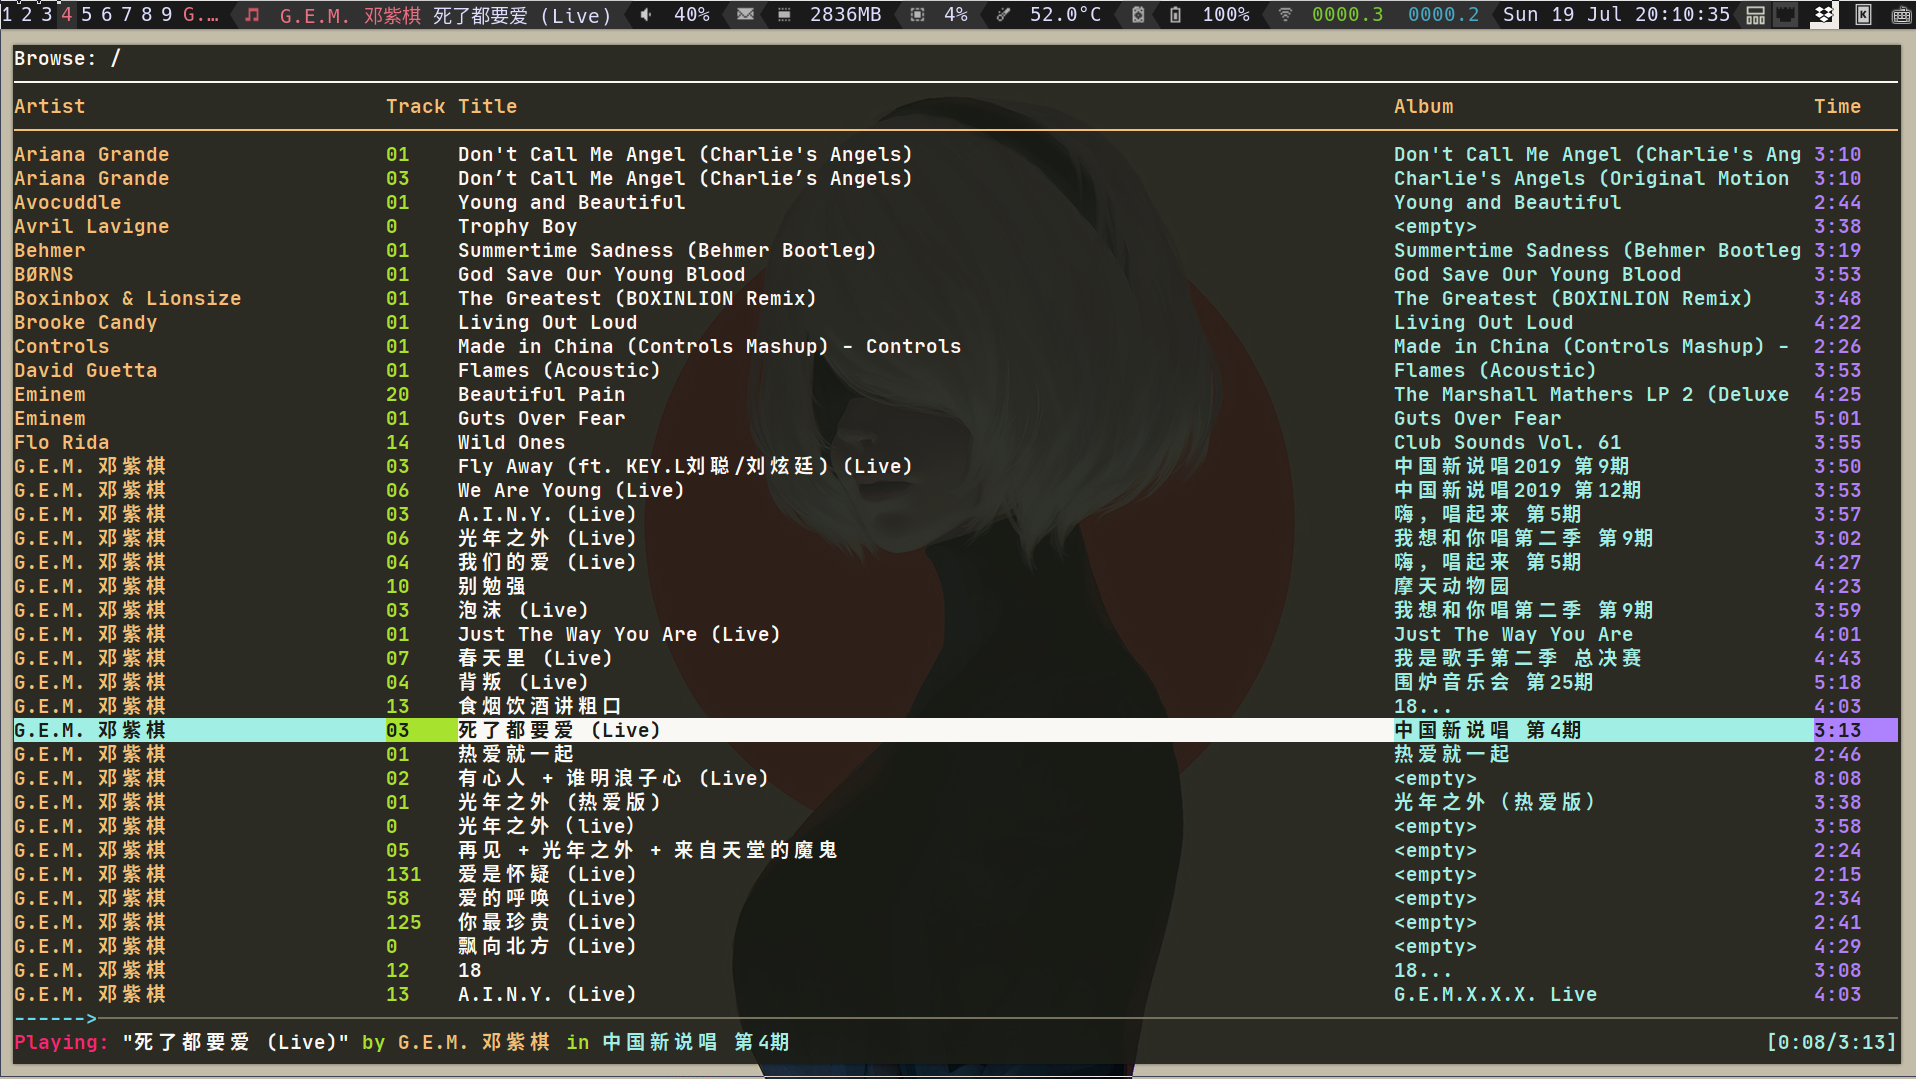
- Music Player ncmpcpp